I never used to appreciate how magical sugar cookies are. They seem so boring and bland, but the truth is they are actually the canvas of pastry. You can do amazing things with sugar cookies with some creativity… and lots of practice.

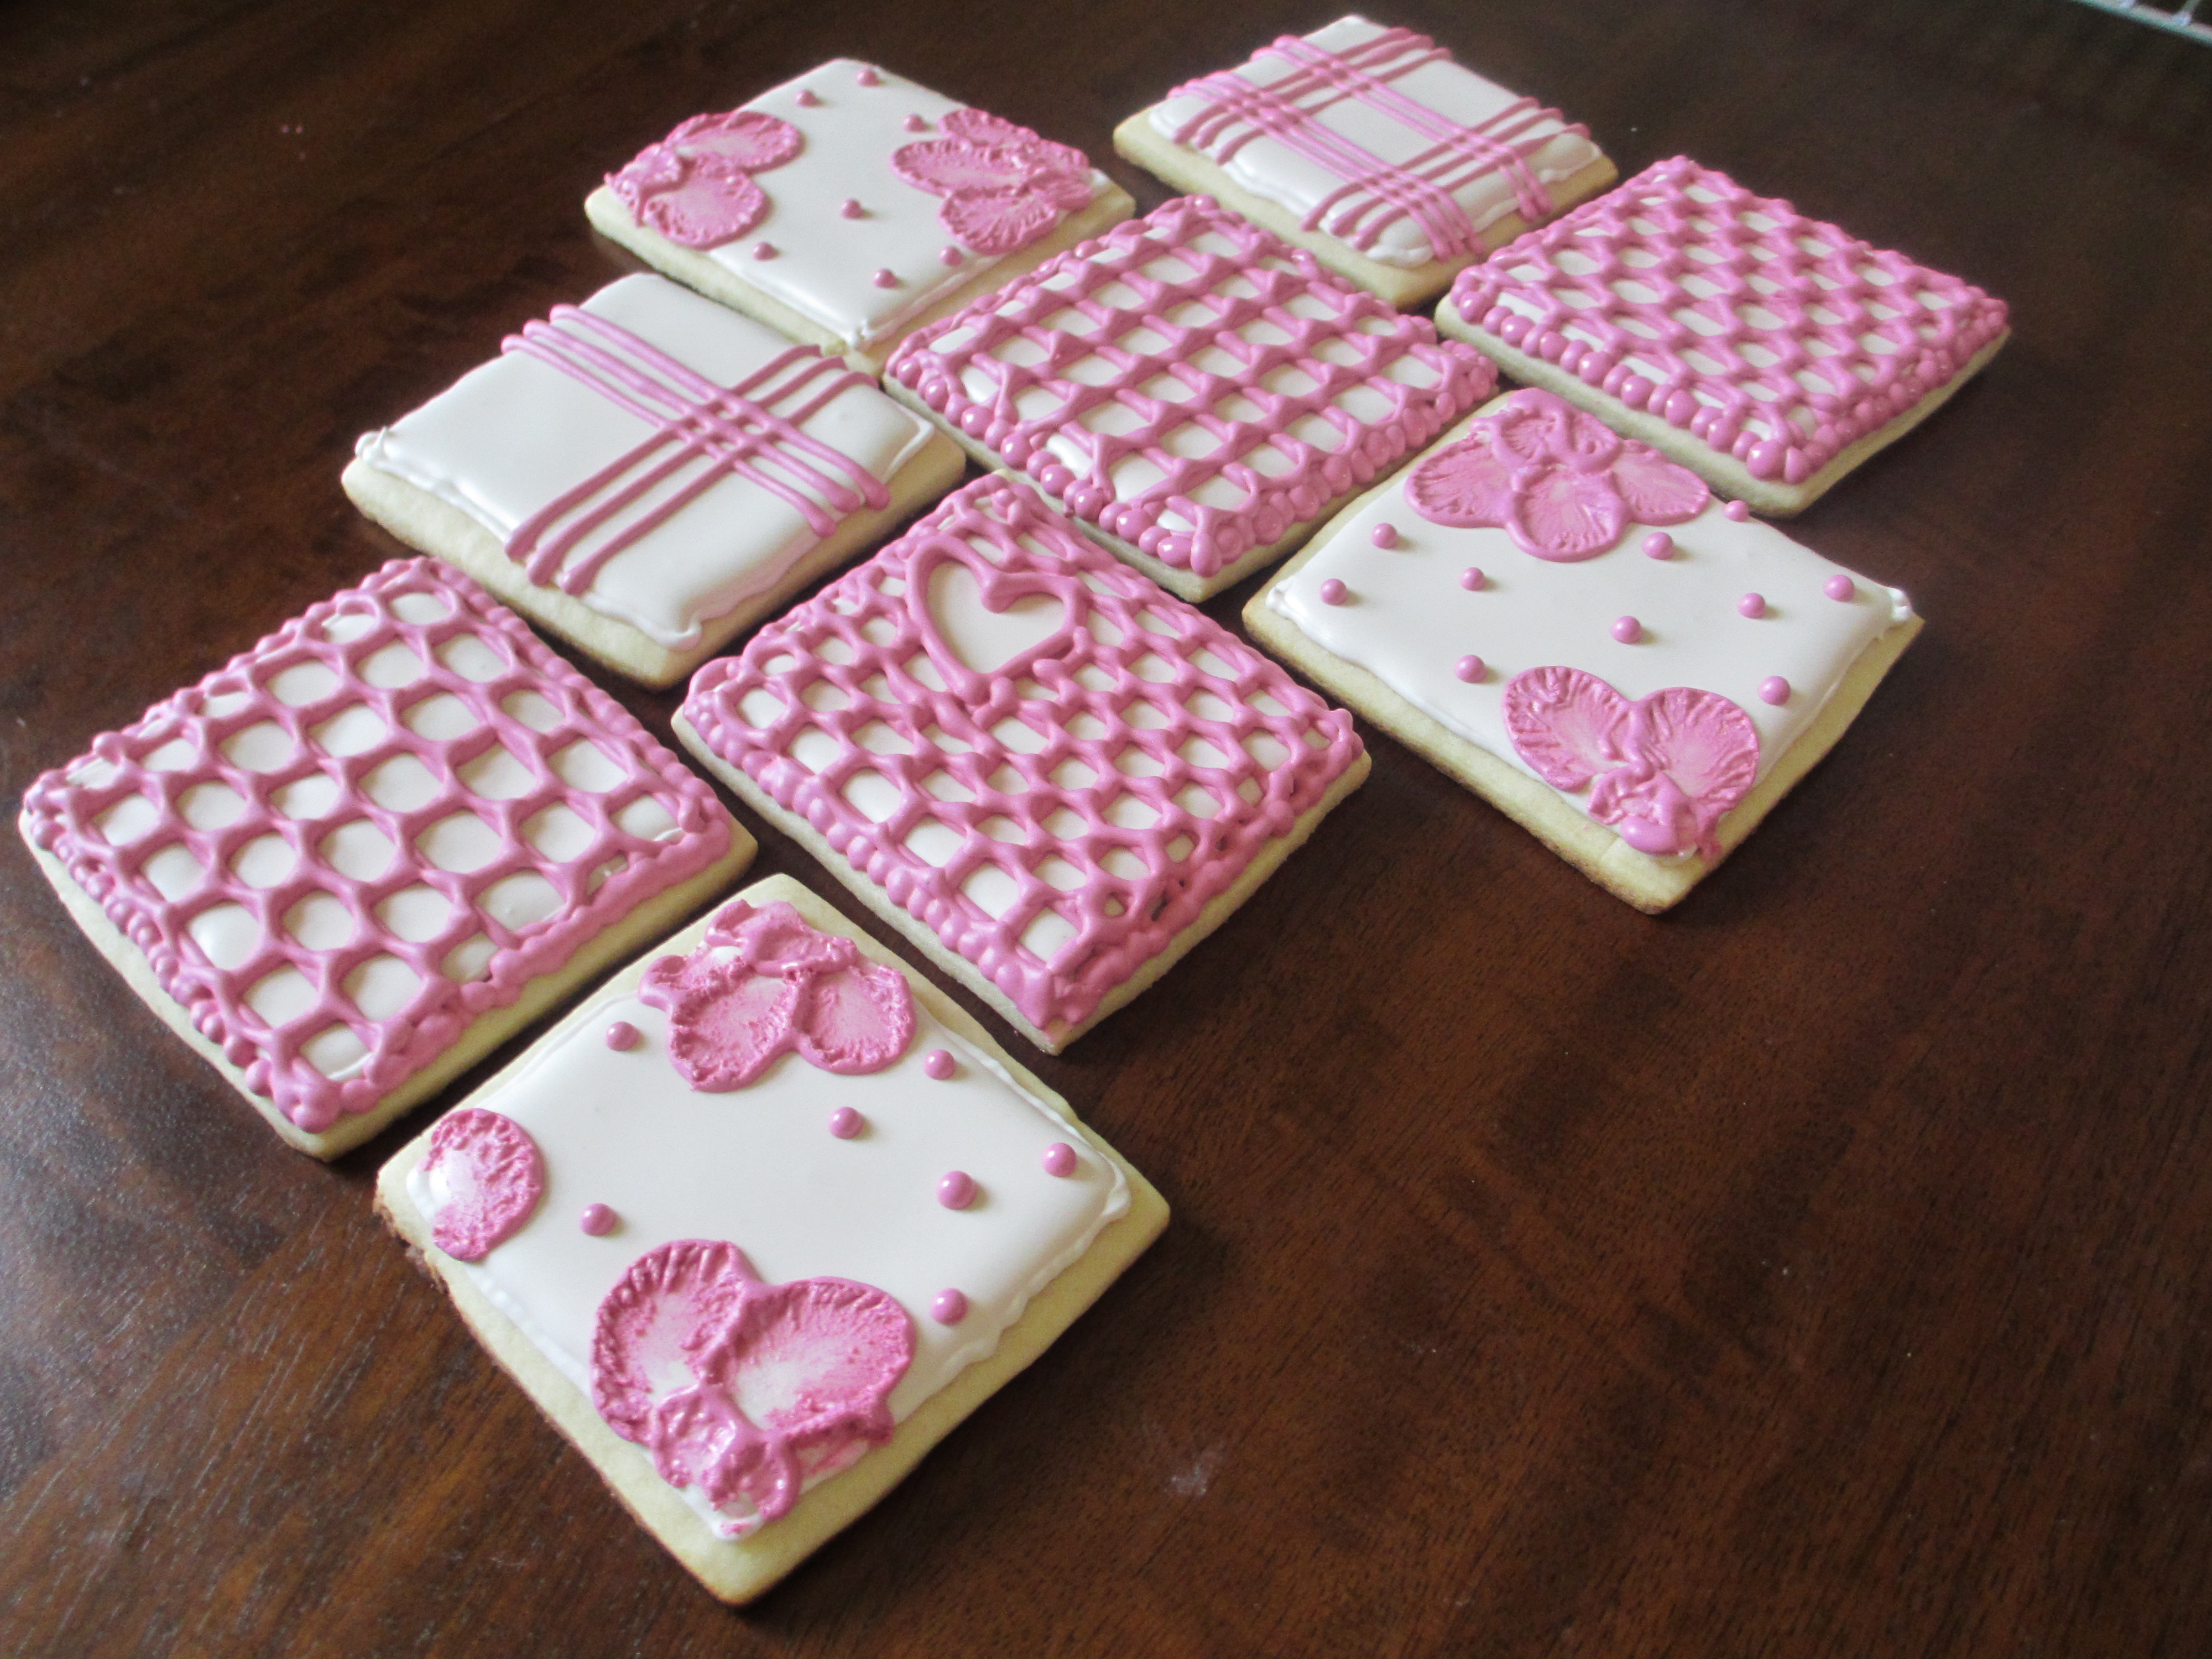
A few months ago I discovered the art of the sugar cookie. I tried out a royal icing lace design, which I think turned out pretty nice for a first try if I do say so myself. Today I thought I would try a new design, with a different sugar cookie recipe and a different royal icing recipe. Overall I was a little disappointed with how the royal icing design turned out, mostly because it was too runny and was more vibrant than I wanted.
All in all, I learned a lot about cookies and decorating, and I can’t wait to try again. The only bummer is that it takes a little effort and time, so I am not sure I will get another chance until the semester is over.
Before I get into the actual recipe, I wanted to share some pictures of the cookies I made a couple months ago.
Today’s Song: “차갑다” by 부활
Alright, onto the recipe!
The beginning of the sugar cookie is fairly typical. It starts with creaming sugar and butter, then eggs, almond extract and flour are added.
I wanted a large surface to practice using the royal icing on, so I used a ruler to cut the dough into approximately 3×3 inch squares.
The cookies were baked and then cooled for several hours.
Later that evening, I made the royal icing for the outline and the flooding of the cookies. Watching powdered sugar, water and meringue powder turn into fluffy icing is always exciting… at least for me. 😉
Then I separated out the icing, colored and thinned it to the correct consistencies.
Then I outlined and flooded the cookies.
After hardening overnight, I made a new batch of royal icing and decorated the cookies!

Sugar Cookie Recipe
Ingredients:
1 cup of unsalted butter, softened
1 ½ cups powdered sugar
2 eggs
2-3 teaspoons flavoring (I used almond extract)
2 ½ cups flour
2 teaspoons baking powder
Directions:
• Cream butter and sugar until thoroughly combined. Add the eggs and extract to the butter mixture and combine.
• In a small bowl, mix the flour and baking powder together. Slowly add the flour mixture to the butter mixture until everything is combined. You know the batter is done when it all sticks to the paddle of the mixer.
• Roll out the dough on a lightly floured surface to about ¼ inch thickness. Cut and bake at 400 degrees Fahrenheit for 6-8 minutes.
• Cool completely on a wire rack before frosting.
Royal Icing Recipe
Ingredients:
1 lb powdered sugar
3 tablespoons of meringue powder
½ cup warm water
2 tablespoons oil-free extract or flavoring (I used vanilla)
Directions:
• Using the whisk attachment in a stand mixer, combine the sugar and meringue powder.
• Add the extract or flavor to the water, and slowly add it to the dry ingredients. The icing will be very liquid-like.
• Mix at medium-high speed until fluffy with stiff peaks, about 7-10 minutes.
• Divide into bowls if creating different colors of icing. Slowly add gel color to create the color you want. Then, add water in very small amounts to create the consistency you need, depending on whether you are outlining, flooding, or adding detail. For outlining, you are looking for something around the consistency of toothpaste or sour cream, and something thinner for flooding.
My Thoughts:
• DO NOT, I repeat do not use the organic powdered sugar with the ziplock top from Whole Foods for the royal icing! For whatever reason, it does not work as well.
• Be careful with the consistency of the royal icing. Of the three batches I made, only the flood icing worded perfectly. I did some research online though, and apparently you can use a slightly thicker version of flood icing to both outline and flood cookies, and do the flooding immediately after you outline them.
• The sugar cookies themselves worked great. They were really smooth, didn’t color when baked, and stayed soft even though they were left uncovered due to the royal icing.
• I really wanted to have a dark red icing, so I slowly added more and more icing… but it just got more and more pink. I also needed less icing than I thought for the decorations. Next time I will use a much smaller amount of icing, and try using different color gels.
Rating: 3/5
This is definitely a practice-makes-perfect kind of recipe. Everything worked fine, but I learned a lot and I would like to give it another shot.

These are fabulous and so artistic!